Creating clear, professional YouTube tutorials requires excellent screen recording quality. Blurry text, choppy motion, or poor audio can frustrate viewers and hurt watch time — a key factor in YouTube’s algorithm.
In 2026, the sweet spot for most tutorial creators is 1080p at 60fps with smart bitrate and encoding choices. This delivers sharp text and smooth cursor movement while keeping file sizes manageable for editing and uploading. Higher resolutions like 1440p or 4K are great if your hardware handles them, but 1080p remains ideal for most software tutorials.
Here’s a complete guide to the best settings, recommended software, and pro tips for crisp, viewer-friendly tutorial videos.
1. Recommended Recording Settings for YouTube Tutorials
Resolution:
- 1920×1080 (1080p) — Best balance for tutorials. Text remains readable, and YouTube processes it efficiently.
- 2560×1440 (1440p) or 3840×2160 (4K) — Use if you want maximum sharpness (especially for UI-heavy software) and your PC can handle it without dropped frames. Many creators now record at 1440p and let YouTube downscale intelligently.
Frame Rate:
- 60 fps — Standard for screen recordings. It makes mouse movements, scrolling, and animations look buttery smooth.
- 30 fps is acceptable for simple talking-head + screen tutorials but feels dated for anything with motion.
Bitrate (for recording):
- 1080p 60fps: 8,000 – 15,000 kbps (CQP 15–18 or CBR 10,000–12,000 kbps for great quality).
- 1440p 60fps: 15,000 – 25,000 kbps.
- 4K 60fps: 25,000 – 50,000+ kbps (or use lossless/CQP for editing flexibility).
Encoder:
- NVIDIA NVENC H.264 or HEVC (H.265) (if NVIDIA GPU) — Hardware encoding is fast and efficient.
- AMD AMF or Apple VT H.264/HEVC for respective hardware.
- x264 (CPU) — Use for maximum quality if your CPU is strong and you don’t mind higher resource usage.
Audio Settings:
- Sample rate: 48 kHz
- Bitrate: 192–320 kbps (AAC or Opus)
- Record system audio + microphone on separate tracks if possible (great for editing).
File Format:
- MP4 for simple workflows.
- MKV during recording (safer — recovers if crash occurs), then remux to MP4 in OBS or HandBrake.
2. Best OBS Studio Settings for Screen Recording (Most Popular Choice in 2026)
OBS Studio remains the top free tool for serious tutorial creators.
Step-by-step recommended settings:
- Go to Settings > Video:
- Base (Canvas) Resolution: 1920×1080 (or your monitor’s native)
- Output (Scaled) Resolution: 1920×1080
- FPS: 60
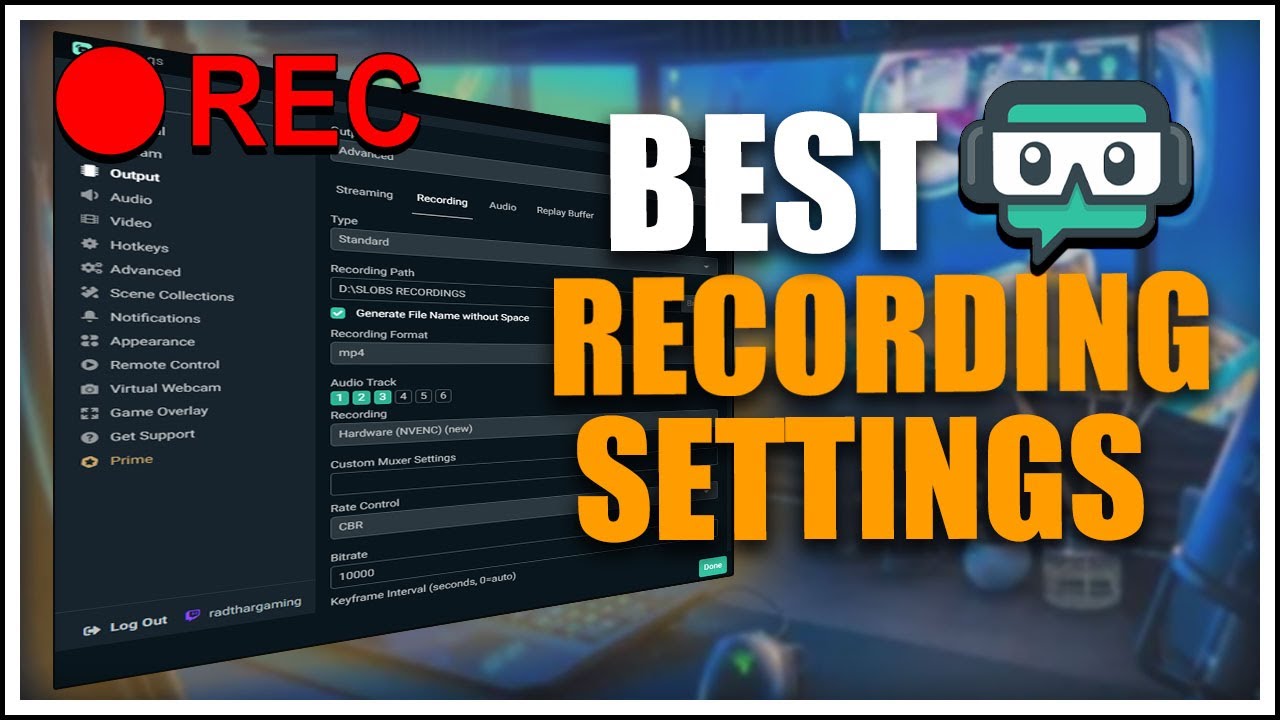
- Go to Settings > Output > Recording (set Output Mode to Advanced):
- Recording Format: MKV (or MP4)
- Encoder: NVENC H.264 (new) or HEVC
- Rate Control: CQP (best quality/size balance) — set CQ Level to 15–18 for excellent sharpness
- OR CBR at 10,000–15,000 kbps for 1080p60
- Preset: Quality or High Quality
- Profile: High
- Keyframe Interval: 2
- Audio:
- Global Audio Devices: Set your microphone and Desktop Audio properly.
- Use Noise Suppression + Compressor + Limiter filters on your mic track.
Capture Method Tip: Use Window Capture or Game Capture (even for non-games) instead of Display Capture for better performance and to avoid capturing unwanted elements like notifications.
3. Quick Settings Comparison Table
| Resolution & FPS | Recommended Bitrate (Recording) | Encoder Preference | Best For | File Size Impact |
|---|---|---|---|---|
| 1080p 60fps | 8,000 – 15,000 kbps | NVENC H.264 / HEVC | Most tutorials, balanced quality | Moderate |
| 1440p 60fps | 15,000 – 25,000 kbps | NVENC HEVC / AV1 | Detailed software UIs | Higher |
| 4K 60fps | 25,000 – 50,000+ kbps | NVENC AV1 or x264 | Premium courses, future-proof | Very High |
| 1080p 30fps | 5,000 – 8,000 kbps | Any | Simple explainers | Low |
4. Other Popular Screen Recording Tools in 2026
- OBS Studio — Free, most flexible, best for custom scenes and multi-track audio.
- Screen Studio or Tella — Modern, beautiful interfaces with built-in editing and AI tools (great for faster workflows).
- Camtasia — All-in-one record + edit with annotations, zooms, and callouts (paid but powerful for tutorials).
- Loom — Quick and easy for short tutorials (less ideal for long, polished videos).
- Built-in tools: Windows 11 Snipping Tool / Xbox Game Bar, macOS Screen Recording — fine for quick tests but limited control.
5. Pro Tips for Professional YouTube Tutorial Recordings
- Zoom & Highlighting: Record at high resolution, then add zooms and spotlights in editing (Camtasia, CapCut, DaVinci Resolve, or OBS plugins).
- Cursor Visibility: Enable cursor capture and enlarge it slightly in post-production for better visibility.
- Lighting & Microphone: Good audio is more important than perfect video. Use a quality USB/XLR mic with a pop filter in a quiet room.
- Close Background Apps: Prevent dropped frames and unwanted notifications.
- Test Recordings: Always do a 2–3 minute test and check text sharpness on a phone and computer.
- Export for YouTube: Match recording settings or slightly higher. Upload in MP4 with H.264/AV1. YouTube recommends uploading at the same or higher resolution than your target (e.g., record 1440p even if final is 1080p) for better processing.
- Color Space: Use Rec. 709, Limited range for standard tutorials.
Final Thoughts
For most YouTube tutorial creators in 2026, start with 1080p 60fps using CQP 15–18 in OBS (or equivalent in your tool). This gives crystal-clear text, smooth motion, and reasonable file sizes. Once comfortable, experiment with 1440p for even sharper results.
The key to great tutorials isn’t just technical settings — it’s clear narration, good pacing, and helpful visuals. Nail the recording quality first so your content shines without distractions.
Test these settings on your next video, compare before/after, and adjust based on your hardware. Viewers will notice the difference in professionalism — and YouTube’s algorithm will reward higher retention.
Would you like a specific OBS setup guide for beginners, export settings for editing software, or recommendations for hardware (mic/GPU)? Let me know!