Two-factor authentication (also called 2FA, two-step verification, or multi-factor authentication) adds a critical second layer of security to your online accounts. Even if someone steals or guesses your password, they still need a second factor — usually a time-based code from an authenticator app, a push notification, or a hardware security key — to log in.
In 2026, enabling 2FA everywhere possible is one of the most effective ways to protect yourself from account takeovers, phishing, and credential stuffing attacks. Most major services support it, and the process has become simpler with authenticator apps and passkeys.
Why Use Authenticator Apps Instead of SMS?
- SMS/text message 2FA is better than nothing but vulnerable to SIM swapping attacks.
- Authenticator apps (TOTP – Time-based One-Time Password) are far more secure and work offline.
- Hardware security keys (like YubiKey) or passkeys offer the strongest protection.
Recommended authenticator apps in 2026:
- 2FAS (open-source, privacy-focused)
- Aegis (Android)
- Microsoft Authenticator or Google Authenticator
- Ente Auth or Proton Authenticator (great for cross-platform sync)
- Duo Mobile
Many password managers (Bitwarden, 1Password, etc.) can also generate 2FA codes, but for maximum security, keep your main 2FA in a dedicated app.
Pro Tip: Always save the backup/recovery codes provided during setup in a secure place (encrypted password manager or printed offline). They are your lifeline if you lose your phone.
Step-by-Step Guide: Enable 2FA on Major Accounts
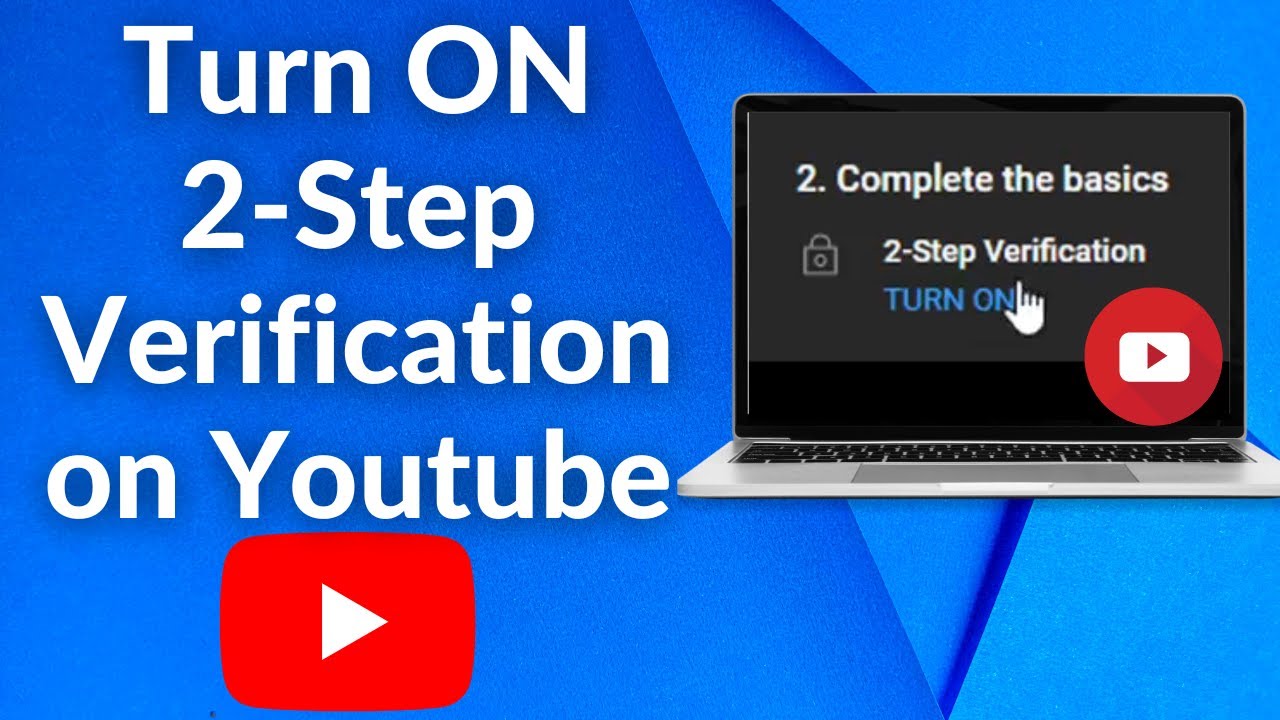
1. Google Account (Gmail, YouTube, Drive, etc.)
- Go to myaccount.google.com and sign in.
- Navigate to Security → Signing in to Google → 2-Step Verification.
- Click Turn on (or Get started) and follow the prompts.
- Choose your preferred method: Authenticator app (recommended), phone number, or security key.
- Scan the QR code with your authenticator app and verify the code.
2. Microsoft Account (Outlook, OneDrive, Xbox, Office 365)
- Sign in at account.microsoft.com/security.
- Click Manage how I sign in.
- Under Additional security → Two-step verification, select Turn on.
- Follow the steps — you’ll get a QR code for the Microsoft Authenticator app (or other methods).
- Verify and save your recovery code.
3. Apple ID / Apple Account (iCloud, App Store, etc.)
Most Apple accounts already have 2FA enabled by default. To check or turn it on:
- On iPhone/iPad: Go to Settings → [Your Name] → Sign-In & Security.
- Tap Turn on Two-Factor Authentication and follow the instructions.
- On Mac: System Settings → Apple ID → Sign-In & Security.
- On the web: Visit account.apple.com and sign in.
4. Meta Accounts (Facebook & Instagram)
Both now use Meta Accounts Center:
- Open the Instagram or Facebook app → Go to your profile → Menu (three lines) → Settings.
- Tap See more in Accounts Center → Password and security → Two-factor authentication.
- Select the account(s) you want to secure.
- Choose Authentication app (recommended), SMS, or WhatsApp.
- Scan the QR code with your authenticator app.
5. X (formerly Twitter)
- Open the X app or go to x.com.
- Click More (or your profile picture) → Settings and privacy → Security and account access → Security.
- Tap Two-factor authentication.
- Choose Authentication app (SMS is limited to Premium users only).
- Scan the QR code and enter the verification code.
6. GitHub
- Click your profile picture → Settings → Password and authentication (under Access).
- In the Two-factor authentication section, click Enable two-factor authentication.
- Scan the QR code with your authenticator app or enter the setup key manually.
- Save your recovery codes immediately.
7. Other Popular Services
- Discord: User Settings → My Account → Enable Two-Factor Auth (scan QR code).
- Amazon: Account & Lists → Login & security → Two-Step Verification (Setup).
- PayPal, Banking apps, and crypto exchanges: Usually found under Security or Account Settings → Two-Factor or Multi-Factor Authentication.
- Work/School accounts (Microsoft 365, Google Workspace, etc.): Check with your administrator — it may already be enforced.
General method for any service:
- Log in to the account.
- Go to Settings → Security, Privacy, Account, or Login & Security.
- Look for Two-factor authentication, 2FA, 2-Step Verification, or Multi-Factor Authentication.
- Enable it and prefer Authenticator app over SMS.
Best Practices for Enabling 2FA on All Accounts
- Start with high-priority accounts: Email, banking, social media, password manager, cloud storage, and work accounts.
- Use a password manager with built-in 2FA support (or a separate app) to organize everything.
- Enable passkeys where available — they are phishing-resistant and more convenient than traditional 2FA.
- Add backup methods: A second phone number, backup codes, or a hardware key.
- Test after setup: Log out and try signing in from another device.
- Avoid SMS when possible — switch to app-based or hardware 2FA.
- Review regularly: Check your important accounts every few months to ensure 2FA is still active.
Quick Checklist
- Email (Gmail/Outlook/Apple)
- Social media (Instagram, Facebook, X)
- Banking & finance apps
- Password manager itself
- Cloud storage (Google Drive, iCloud, OneDrive)
- Work/school accounts
- Shopping (Amazon, etc.)
- Developer accounts (GitHub, etc.)
Enabling 2FA across all your accounts takes a little time upfront but dramatically reduces your risk of being hacked. Once set up, the extra second it takes to open your authenticator app is a small price for much stronger security.
Make it a habit: Whenever you create a new important account, enable 2FA immediately. Your future self (and your data) will thank you.